Embarking on the Sourdough Pizza Journey: From Dough Beginner to Master
Unlocking the Sourdough Secret
Sourdough is a time-honored method of making dough that uses a natural starter, or "mother," for fermentation, instead of commercial yeast. While the process takes longer, it yields dough with deep, complex flavors. Sourdough makes an amazing pizza dough base - we encourage you to give it a try!
Health Benefits of Sourdough
Sourdough is more digestible and nutritious than many other bread types. Its natural fermentation process breaks down gluten and phytic acid, making nutrients easier to absorb. The prebiotics produced during fermentation support healthy gut bacteria, contributing to improved digestion. Additionally, sourdough bread has a lower glycemic index, meaning it is less likely to cause a spike in blood sugar levels, making it a better option for maintaining steady energy.
Caring for Your Sourdough Starter
Whether you're making pizza or another sourdough recipe, the key is maintaining your starter. Store it in a jar on your kitchen counter, covered with a lid or a cloth secured by an elastic band. Feed it every 1–2 days with equal parts (by weight) of the same flour you used to create it and water. Before feeding, remove some starter to prevent overgrowth.
If you need a break, seal the starter and refrigerate it for up to two weeks. The cold slows fermentation, requiring no maintenance. When ready to use it again, resume regular feedings.
Recipe for the Perfect Sourdough Pizza Dough
Makes 3 to 4 large pizzas
Ingredients
Levain Mix
- 50 g mature sourdough starter
- 50 g "00" flour or bread flour
- 50 g whole grain flour
- 100 g warm water
Final Dough
- 425 g "00" flour or bread flour
- 75 g whole grain flour
- 310 g warm water
- 10 g salt
- 250 g levain mix
- Olive oil (for greasing)
- Flour (for dusting)
Instructions
Levain Mix
Prepare the levain the morning before pizza day. Feed your sourdough starter in advance to ensure it’s active. Combine 50 g of starter, 50 g each of "00" and whole grain flours, and 100 g warm water in a jar. Mix thoroughly, cover, and leave at room temperature for 3–4 hours until it doubles in size. Use a rubber band on the jar to mark the starting level for easy tracking.

Final Dough
Once the levain doubles, begin the final mix. Dissolve 10 g of salt in 310 g warm water in a large bowl. Stir in 250 g of levain until combined, then gradually add the flours, mixing with your hands until a cohesive dough forms. Let it rest uncovered for 10 minutes.
Kneading the Dough
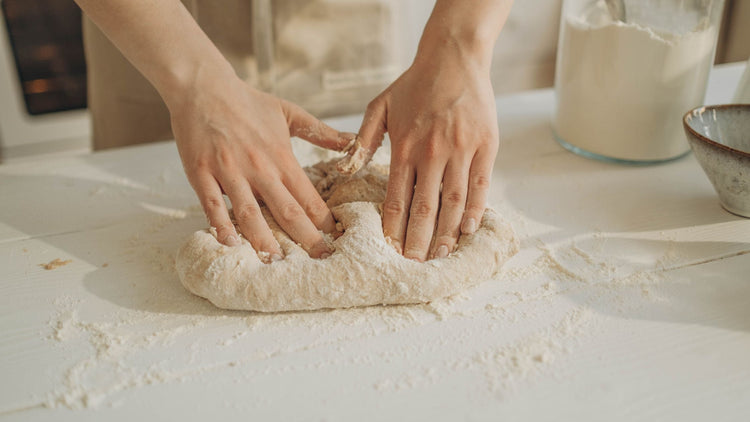
Lightly flour your work surface and knead the dough for 10–15 minutes by hand or use a stand mixer: start on low speed for 10 minutes, then mix on high for 5 minutes. The dough is ready when it’s smooth, elastic, and springs back when pressed.
Shape the dough into a ball by tucking the edges under and pulling it towards you to create surface tension.
Bulk Fermentation
Grease a large bowl or container with olive oil. Place the dough inside, cover with a cloth or lid, and let it ferment at room temperature for 3 hours. It should double in size and develop visible air bubbles.
Shaping and Proving
Divide the dough into 3 or 4 equal portions for pizza (or one large ball if you are making a single loaf). Shape each piece into a ball, using the same method as above. Place the balls on a floured tray or parchment-lined baking sheet. Cover and refrigerate for at least 24 hours for a cold prove.

Stretching, Topping, and Baking
After cold proving, bring the dough to room temperature for 2 hours. Preheat your oven.
Dust a pizza peel with flour, stretch the dough into a circle (30–40 cm), and place it on the peel. Add your toppings and slide the pizza into the oven. Rotate as needed for even cooking.
Serve and enjoy your homemade sourdough pizza!


